How To Create A Pillar Diagram To Lay A Solid Foundation.

Pillars are always standing tall and high. Why? Because of their solid foundation.
If the foundation of a pillar isn’t strong enough, it won’t be able to stand tall and high like other pillars.
Similarly, in order to make our businesses as strong as a pillar and as tall as a skyscraper, a solid foundation has to be laid out.
A pillar is all about the strength and supports it gives to the structure. Being such an important element of a tall building, it is a vital element of our businesses too. They can be used for representing some of the underlying principles of a business concept or to portray some organization values that are supportive of your vision and mission. Apart from this, they are amazing visual graphics that are enough to grab the immediate attention of the audience.
Now that we know how a pillar can help stimulate the growth of our business, let us learn how to design an awe-inspiring Pillar Diagram in PowerPoint and that too in less than 5 minutes. All you have to follow is this tutorial and you are good to go!
So, let us get started with designing a pillar diagram:
What you will learn in this tutorial:

Steps to Create a Pillar Diagram in PowerPoint:
Step #1 Insert a Rectangle and resize it
The first step is to create the basic structure of a pillar. For this:
- Go to the Insert tab and click on Shapes
- A dialog box with many shapes appear
- Click on Rectangle and insert a rectangular shape in your slide
- Resize the rectangle by adjusting its sides (see the screenshot below)

Step #2 Insert a Trapezoid and resize it
The next step involves inserting a trapezoid which will be placed above the rectangular shape to create a pillar-like structure. For this
- Go to the Insert tab and click on Shapes
- A dialog box with many shapes appear
- Click on Trapezoid
- Resize the trapezoid with its adjusting handles located in the corners of the shape

Step #3 Adjust all the Shapes
After inserting a rectangle and a trapezoid, adjust the shapes to create a pillar. Place the trapezoid above and below the rectangle and leave a little bit of space between both shapes. Look at the screenshot below for reference. We have also added another bigger trapezoid over the smaller one to create a unique structure.
This is how the basic pillar looks like:

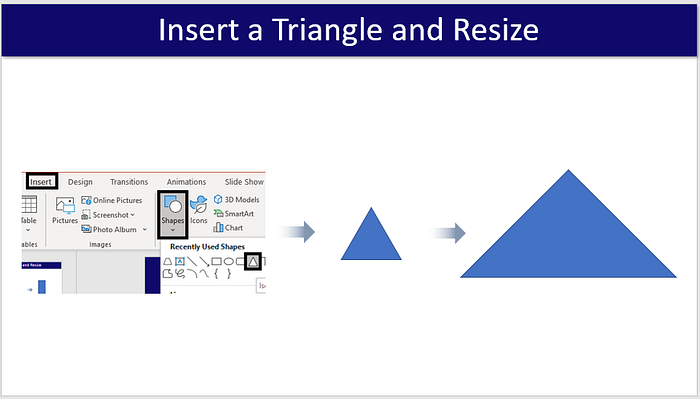
Step #4 Insert a Triangle and resize it
Next up is to insert a triangle the same way you have inserted other shapes in the slide. For this:
- Go to the Insert tab and click on Shapes
- A dialog box with many shapes appear
- Click on Triangle and insert a rectangular shape in your slide
- Resize the triangle
Step #5 Align the Shapes
Now align your rectangle such that it creates the top portion of the pillar diagram. For this:
- Click on the triangle previously inserted and duplicate it by pressing the CNT + D command on your keyboard
- Resize the duplicated triangle by making it smaller in size
- Reposition this rectangle inside the bigger triangle
- Align these shapes together by clicking on Shape Format> Align Center> Align Middle
This will give you a perfectly aligned top portion of the pillar diagram (see the screenshot below):

Also Read: How to Design a Location Pin Icon in PowerPoint
Step #6 Reposition the pillars under the Triangle
Duplicate the pillars created in step 3 and place them under the triangle. Also, align these pillars to form a perfect pillar diagram just as the one shown in the screenshot below:

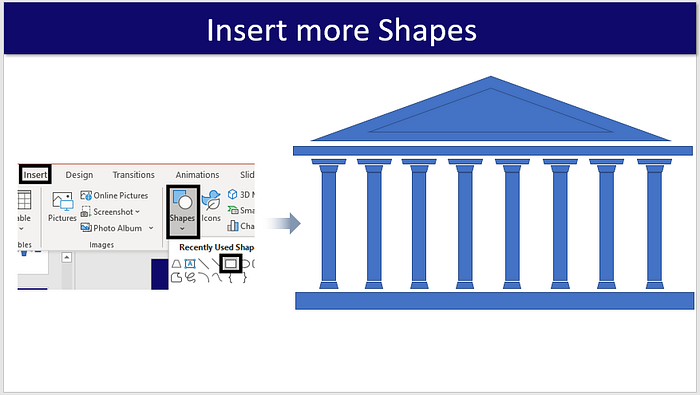
Step #7 Insert more shapes (we have added rectangles)
To make the pillar structure appear more professional and appealing as well, you can insert a few extra shapes. We have inserted a few rectangles, resized them, and positioned them as per our preference.
Here is how the pillar structure looks like:
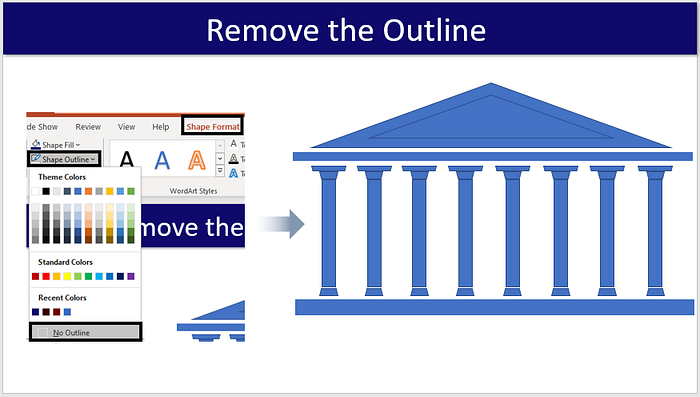
Step #8 Remove the Outline
You can remove the outline of all the shapes or the extra shapes you have recently inserted. For this:
- Click on the shape you want to remove the outline of
- Go to Shape Format> Shape Outline and tick on the No Outline checkbox
This will remove the outline of your desired shapes. Look at the screenshot below:
Step #9 Format the color of the Shapes
Our pillar diagram is now ready. You can fill it with any color that you like. To do so:
- Select the shape and click on Shape Format
- Then select Shape Fill and choose the color of your choice

Step #10 Add text
You can now add your desired text in this pillar diagram to make it appear more professional and showcase it in front of your esteemed members like the CEO, stakeholders, investors, etc.

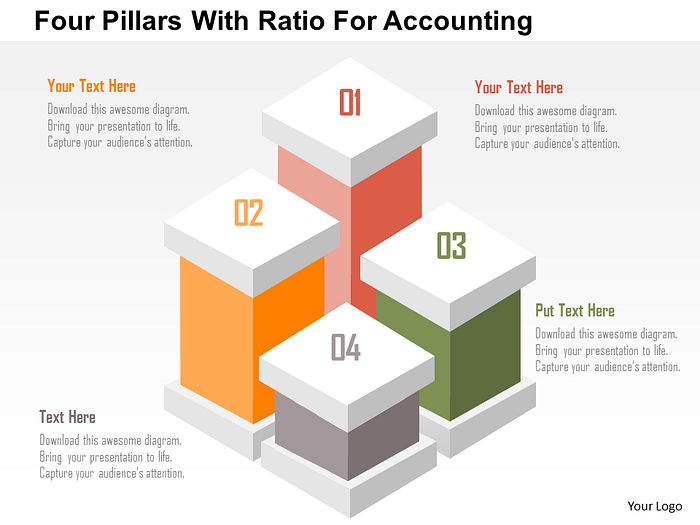
Template #1
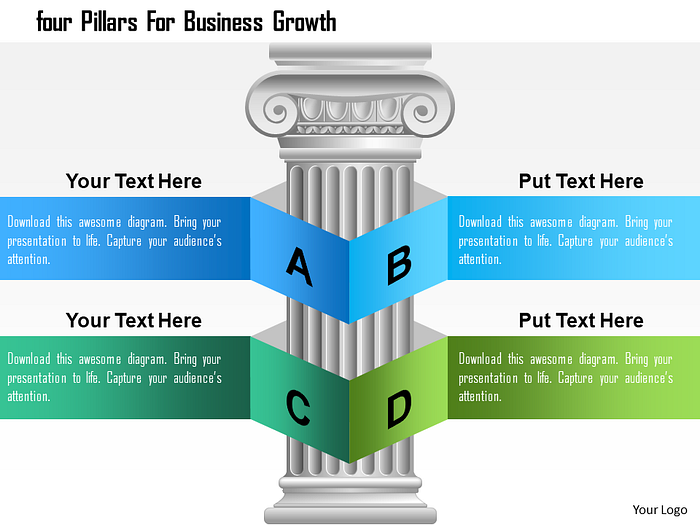
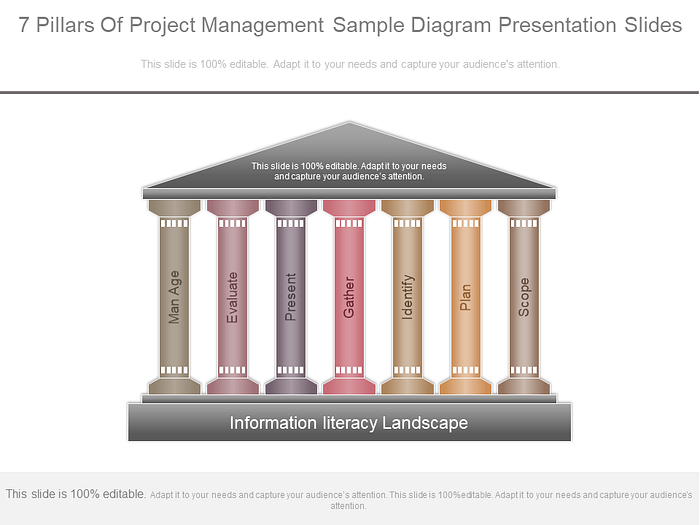
Template #2
Template #3

Template #4

Template #5
Download your favorite pillar diagram and use it to lay a strong foundation for your organization.